
COM3035 – Raster Graphics 2
Raster Graphics 2 is a continuation of concepts and skills acquired in Graphics Tools and Raster Graphics 1. Graphic Tools and Raster Graphics 1 are prerequisites for this module. In this module, we will continue to develop your capacity to plan, create, and export a variety of raster graphics.
Assessment breakdown:
#1. Theory = 20%
#2. Practice = 40%
#3. Final Project = 40%
REMINDER: Unless indicated otherwise, all assignments are to be turned in through the assignments tab in Microsoft Teams.
Theory
IN THIS SECTION WE WILL LEARN IMPORTANT CONCEPTS NEEDED TO DO THE PRACTICE. PLEASE ENSURE YOU HAVE REVIEWED THE MATERIALS BELOW BEFORE TAKING THE QUIZ ASSIGNED THROUGH TEAMS.
What should you already know about Photoshop?
In the Graphic Tools and Raster Graphic 1 modules, we learned the following:
The relationship between pixels and resolution
Key differences between raster and vector graphics
Vector tools such as the pen tool
Photoshop tools such as layer masks and smart objects
Best practices to setting up your graphics projects
Purposes of different file formats and output settings
How to create layer comps
It is important that you have a good understanding of each bullet listed above. Consider reviewing the Multimedia 10 - Graphics Tools and Raster Graphics 1 presentation files. Some of the bullets will be readdressed in the following Presentation 1.
In YouTube, check the video’s description to see timestamps. Click on the parts of the video that you need a review.
Practice
IN THIS SECTION YOU WILL APPLY WHAT YOU LEARNED IN THE THEORY SECTION. THE AIM OF PRACTICING IS TO EQUIP YOU WITH THE KNOWLEDGE AND SKILLS NEEDED TO CHOOSE AND CREATE YOUR OWN FINAL PROJECT. CLICK ON THE BUTTON BELOW TO DOWNLOAD A PRACTICE PORTFOLIO TEMPLATE (MOVE IT TO YOUR STUDENT FOLDER) AND CAREFULLY REVIEW THE INSTRUCTIONS.
> How to do Practice Portfolio in Multimedia (00:00)
> Student Examples
Include the following challenges, plus pictures of any other in-class activities you completed (earn bonus marks), inside your practice portfolio:

#1 – Witness Protection
Witness protection is a government run program designed to give people a new identity in order to conceal their old one. People in witness protection are often a target of organized crime or have another important reason to go into hiding. The FBI has hired you to help them with the process of giving people a new life. Press the button below to begin your top secret assignment.
Click here to download Assignment Asset #1 (Option 1)
Click here to download Assignment Asset #2 (Option 2)
Useful web resource(s):
> How to Change Hairstyles in Photoshop (Video)
> Photoshop Tutorial: Clone Stamp Tool (Video)
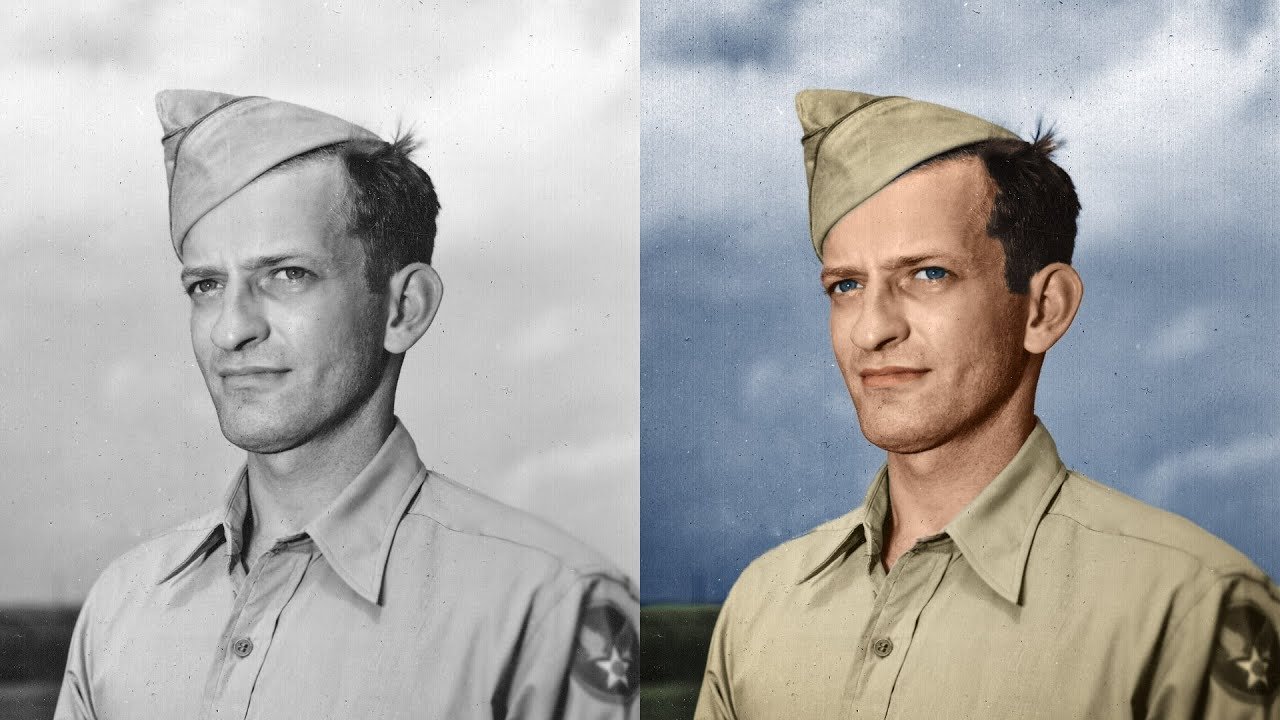
#2 – Colourizing Pictures
In your practice portfolio, display before and after images for ONE of the following options:
Option A: Colourize a black and white photograph.
> How to Colourize B&W Photo in Photoshop (YouTube)
> New Photo Restoration Filter in Photoshop (YouTube)
Option B: Colour in a line art drawing.
> How to Colour Linework Drawings in Photoshop (Article)
> Colouring Line Art in Photoshop (Article)

You can try this at home with your phone and a self-timer. Use weighted materials or a clamp to secure your phone in place.
#3 – Multiplicity Portrait
For this challenge, you will create a multiplicity portrait that has at least 4 different poises. You will need a tripod, camera, and partner to take the images. Include an exported .jpeg of the final result inside your practice portfolio.
> How to Create a Multiplicity Photo in Photoshop (YouTube)

#4 – HDR Photo
For this challenge, you will produce a HDR photograph using Photoshop functions. Normally, you would create HDR photos by taking three separate photographs of the same subject; one overexposed, one underexposed, and one regular exposure. In post production you then stitch the three photos together to achieve optimal lighting; however, for this challenge find a “flat, low contrast” image to boost (try one from your phone camera roll). In your practice portfolio, display the before and after of your HDR photo.
Final Project
IN THIS SECTION, YOU WILL HAVE THE CHANCE TO CHOOSE AND DESIGN A PROJECT THAT RELATES TO WHAT YOU HAVE LEARNED IN THIS CREDIT (SEE FINAL PROJECT DESCRIPTION BELOW). PLEASE DOWNLOAD THE INSTRUCTIONS AND FOLLOW THEM CAREFULLY. PLEASE SEE ME IF YOU ARE STRUGGLING TO COME UP WITH A PROJECT IDEA OR NEXT ADDITIONAL GUIDANCE.
Final Project Description: For this final project, you will create and/or manipulate original raster graphics to present to an audience.
> How to do Final Projects in Multimedia
> Final Project Ideas & Resources
> Student Example (Final Project)
For your final project, consider creating a submission for this semester’s Photoshop Battle!
> Winners Of The Greatest Photoshop Battles Ever


RESOURCES:
> Slideshow Presentation Tips (PDF)
> PixImperfect Tutorials (YouTube)
> Phlearn Tutorials Tutorials (YouTube)
> Photoshop Training Channel (YouTube)
> Rules of Good Typography (PDF)
> Perfect Layout Design (YouTube)
> Grid Systems (PDF)
> Photoshop Roadmap (Website)
ACTIVITY FILES:
> Photoshop Mini-Challenges Grid (.Psd)
SOFTWARE:
> Adobe Express (Free, Online Raster)
> Canva.com (Free, Online Raster)
> Photopea.com (Free, Online Raster)
> GIMP (Free, Raster)
> Pixlr (Free, Raster)
> Inkscape (Free, Vector)
> Vectr (Free, Vector)
ASSETS:
> Slidesgo.com (Free Ppwt. Templates)
> Dafont.com (Free Fonts)
> Google Fonts (Free Fonts)
> Unsplash.com (Free, Stock Images)
> Pexels.com (Free, Stock Images/Video)
> FreePik.com (Free Graphics)
> Blush.com (Free, Customizable Graphics)